Thursday, March 28, 2013

Le Boudoir

It's been a little while since I've done any updates to our bedroom, but this past week we've managed to get a lot done!

Originally I was thinking of incorporating some colors and patterns and making it a fun, spunky room, but I was reminded what the finished goal was: a grown-up room. And that is just what we've made it. I'm so happy with the [almost] final outcome and I cant wait to share with you!

The reason why it's taken so long to get to this point is because it's important to be patient. I could have plopped some pictures on the wall, bought some crazy fabric to make some drapes and called it a day, but I wouldn't have been happy with the final outcome. The key is finding the right pieces. So, I always start at my favorite store, Home Goods! The other day I decided to stop in just to check out some cool pots that I could put my new plant into. I got the plant at Michaels; it looks like a Hawaiian Ti Plant and was 40% off! It came in an ugly black plastic pot so I wanted to spruce it up some. Unfortunately I didn't find a pot that would have complimented the room like I would have liked... But, I managed to find a bunch of other stuff!!!

We had this blank wall where the dresser once was. It was screaming for some attention and I was wanting a full length mirror so I could see how my butt looks in my jeans Sean and I could stop shoving each other out of the way of the only mirror that is in our bathroom. Ahhh space.


Annnnd alacazam! Mirror mirror on the wall, who is the cutest puppy staring at her mommy like she's a crazy person?!?


I love this mirror! It's got some great detail in the frame and it's huuuge! We had to hang it pretty high up on the wall because of the vent that circulates air back into the handler, which is the in the closet right next to our bedroom. But, since I'm about as tall as Amazon Woman, the height works for me and my giraffe legs :)

Here's a close up of the detail in the frame:


Notice something in the mirror's reflection?! Curtains covering the sliding glass doors! You can also see the plant that I bought and shoved in between the dresser and door.


Now we don't have to look at all of the folding chairs and coolers out on our back porch! Which makes me a very happy girl. What about the other window that the bed sits in front of?


Boom. Curtains there, too. I love how they match the ones covering the sliding glass doors. I think it frames out the window and draws your attention to the bed. Not that it needs to stand out any more than it does since it stands almost four feet tall!

I'm also a fan of the black curtain rods. As Sherry from my favorite blog Young House Love says, it's like the eyeliner of the window! It also pulls some of the color out of the painting that we hunnngggg! (Picture me screaming in my best Oprah voice)


We look so artsy fartsy with our abstract painting hung on our big wall. I was so happy/excited/elated when I found this. That's a big wall to cover and this painting has the perfect scale as well as the perfect colors! It really completes the room and I'm so happy with how everything turned out and blends together. It blends a lot better in person, the colors in the pictures are sorta skewed because I take all of the pictures with my iPhone. You'll just have to trust me that it looks good :)


Everything that is now hanging on our walls is being held by anchors. If you've ever drilled into a masonry wall, you know that it can get dusty and dirty. So, here's a quick tip. Take a paper towel and run half of it under some running water. Don't wring it out! Stick it to the wall and while you're drilling, hold up the other side of the paper towel. The wet part will stick to the wall and the part that you're holding up will catch all of the dust!


Here's a bad example of what I'm talking about hahaha; by this point, the paper towel had dried out a bit, but it could still work since there is some dampness to it. As long as there is something to block the dust from hitting the ground and something damp to catch the dust. It's worth a shot since it'll save some cleanup time later.

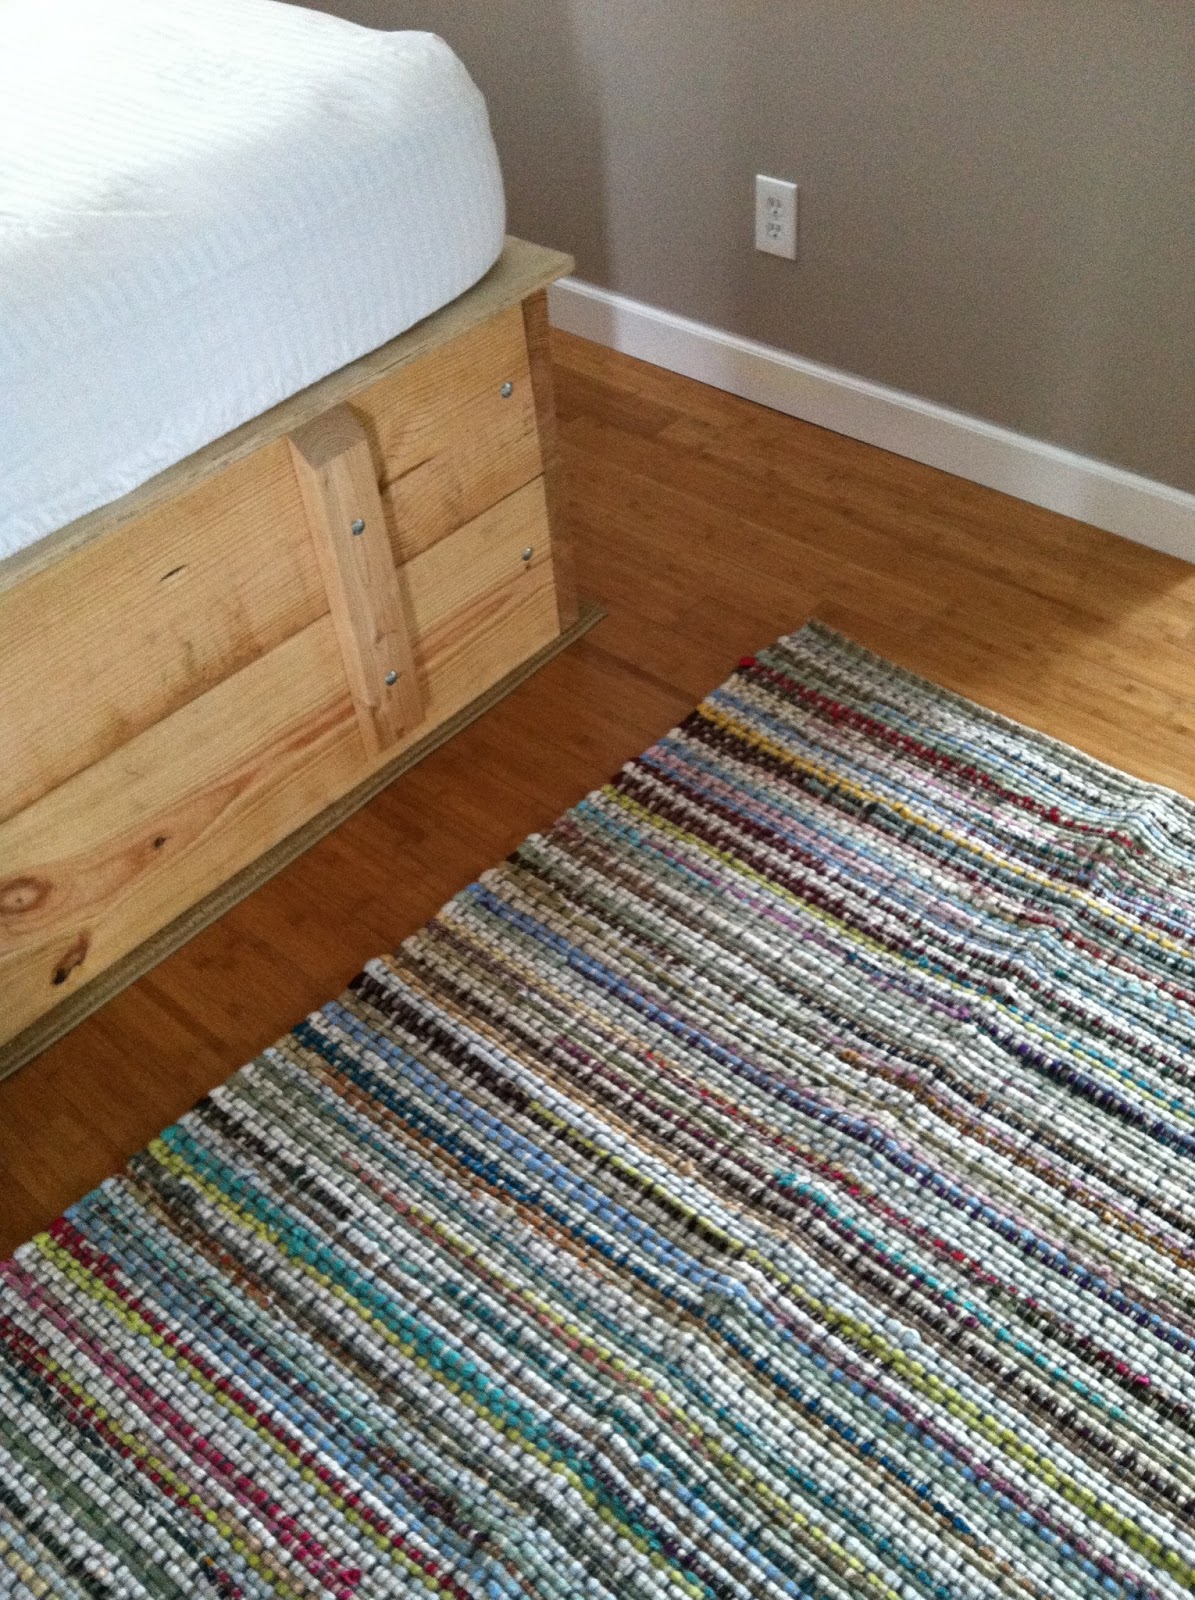
That concludes the latest updates for our bedroom. By the looks of the way things are headed, my beloved little pillow and rug from this post are booted out of the bedroom. But, no worries, I have other uses for them :)

I hope you all have a wonderful weekend! May you all have a blessed Easter and a fabulous time spent with family on Sunday.

-C Doc

Monday, March 25, 2013

Awreatha Franklin

What a wonderful weekend! Lyndsey and Derek said their vows and tied the knot on Saturday. It was so beautiful and probably the best wedding I've been to. The food was great, the atmosphere was serene and the couple looked great!


After recovering laying in bed until almost noon on Sunday (which was fantastic!), I decided it was time to get my lazy butt outta bed. Sean looked up our bank account last week and said that if he saw another purchase from Michaels that he would probably go crazy....

So I started my Sunday by going to Michaels. Haha!

What can I say? It's one of my favorite stores! Besides, St. Patty's Day is over and the wreath needed to be changed out! And that right there, my friends, is enough justification for me :)

Since spring is in full swing (sorta), flowers at Michaels were 50% off, making it that much harder to narrow down which bunch I wanted to shove in my twig wreath. I ended up with some colorful daisies and a paper flower for the top.


The daisies came in a bunch so I started by taking wire cutters and cutting the stems pretty long. I ended up cutting them again to about 3". That's enough to be able to work it into the twiggy wreath.


As you can see (unless you're color blind), the daisies are pink, yellow and green. I also got that cute pink and yellow paper flower to put at the top; so, to keep a little green up there, I left the glass D ornament. I then stuck in the flowers and the two leaves, that were also attached to the bunch, and bent them to create a full looking arrangement.


Next, I attached the paper flower. It had a loop tied to the back of it so I threaded it through the wreath and tied a secure knot. I'm already planning on it getting ruined by rain and humidity, but at least at the end of the day that sucker will still be on there!

Here is my finished product, all ready for Easter and Spring!


And, of course, a shot of the wreath on the door :)


You can barely see the D ornament at night, but during the day the gold shimmers in the sunlight and it's super cute! I'm all ready for Spring, but the temps outside don't seem to have caught up with me yet; it's supposed to be in the 40's tomorrow! Say whaaaaa?!?!?!?

Stay warm!

-C Doc

Friday, March 22, 2013

Your @$$ is grass!

Kidding...

So, I'm a day later than promised... I've been trying to keep up with my New Year's resolution of exercising and now that the sun is out later, I've been spending more time doing outdoor activities! I love it when it's lighter later. Bring on the sunshine and beautiful sunsets :)

Anyhoo, I'd like to share some photos and updates on our backyard! Before, we had a dirt pit. I hated letting the dogs go back there because I knew when they came back in they'd be little dirt devils. I don't even want to get into the mud pit we had when it rained... But, we're now in the process of creating a little oasis.

Step one: grass!

We started in the right corner of the yard. Every time we went to Home Depot we would get about $20 worth of sod pieces. We'd throw them down and wait until the next time we went to our beloved home improvement store and pick up some more. Although Home Depot is our second home, at the rate that we were going, covering the whole backyard with grass was going to take the rest of the year. Until Sean muttered the words I've been waiting to hear... "I'm buying a pallet!"

Hallelujah!

Now after hauling it home and throwing it down, we have some ground cover! Woohoo!


As you can see in the bottom corner of the picture above, the pallet ran out before the yard was finished. No worries though, it'll be done in no time. I'm so excited for the dogs to have somewhere nice to play.


As you can see in the back corner of the yard (our house sits on a diagonal), we left it open to put some landscaping. We figured the less grass, the less we have to maintain and mow. You can also see some pilings that we stuck in the ground a while ago that we were going to drape the rope (hanging on the fence) across to add to our beach look that we were going for, but I think we've strayed away from that idea.


I can't wait to finish the grass and landscaping and have our little oasis be complete. Moving from my parent's beautiful backyard to a dirt pit was a bit of a bummer. We've held so many wonderful and memorable parties in their space; it excites me to design and implement our backyard plan so we can share memories with our loved ones too :)  we're a very long way from the picturesque mature landscaping they have, but you've got to start somewhere, right?!

Check out their beautiful backyard paradise:


This is what makes me miss home. Good thing I only live 3 minutes away! Seeing the cute little flowers in the picture above makes me excited for spring. Now if Mother Nature would realize that spring has sprung...

I hope you all have a beautiful weekend! I'll be at another fabulous wedding celebrating with family and friends; see you next week folks!

-C Doc

Tuesday, March 19, 2013

You say tomato...

And I say, add some cucumbers and italian dressing! :)

Tomato and Cucumber salad. It's definitely one of my favorite sides; it's so cool and refreshing and it goes with almost any meal, not to mention the fact that it's crazy easy to make. So, I decided to make it for last nights dinner. Two vine ripe tomatoes and one cucumber is the perfect amount for Sean and I as a side. I usually leave the skin on the cucumber, but last night I went a lil crazy and peeled it off. Such a rebel.

All you do is chop everything into small bite size pieces and plop it into a bowl.


After that, drown it in Italian Dressing. Wishbone seems to be Sean's favorite so that's what we use. Happy hubby, happy wifey.


With this dish, the longer it sits, the better it tastes. I usually try to prepare this at least a half hour before dinner is served. That way, the veggies have the ability to soak up the flavoring, or marinate, if you will.

After preparing this, I hopped in the shower and bathed the fur-kids. When I got out, Sean had dinner all ready! I love good surprises :)  He made tilapia, mushrooms and new potatoes all in a pesto and garlic butter sauce. It was awesome! He also made garlic bread sticks. I'm pretty sure he could eat those with his cereal in the morning. It's sorta ridiculous how much he likes them. They're not pictured because he already ate them...


He can cook for me anytime. Seriously, any. time. Because either way, I have to do the dishes. So why not take one task away, right?

Tomorrow I should have an exciting post of some things we're doing in the backyard. Or maybe Thursday... Who knows!

-C Doc

Tuesday, March 12, 2013

Goin' Commando!

Not me. The house. Last night my mom and I went to Publix and I picked up a Command Strip to hang my beloved holiday wreath. I love these things; they're so simple to use and they work great. Although, if you recall from Christmas, our wreath on the front door didn't work out to well.... but, that was my fault. 

On the back of the packaging, it clearly tells you to use rubbing alcohol to clean the surface before sticking the Command Strip on. I did not do that. My stubborn self thought that using Windex would be juuuust fine. The only thing that I didn't pay attention to was the fact that it puts a film on the glass that doesn't allow the strip to get a good stick. Hanging the Christmas wreath and watching it fall every time I stuck it back on was definitely discouraging, so it definitely goes to show you that the directions are useful. Who knew?!? But alas, I did not have rubbing alcohol... go figure. I did have Witch Hazel though, which is 14% alcohol, so I figured, what the heck... why not. 

Step 1: Clean the glass (with booze rubbing alcohol)
Step 2: Put the sticky on the strip
Step 3: Press to glass for ten seconds
Step 4: Leave it for an hour


Oh the wait.... That was another step I failed to follow last time. I just wanted my wreath on the dang door. This time I was patient, however. I started by hanging the wreath on the hook and holding it up to see where it looked best. As you can see, this is where the hook is stuck. 

An hour later and it was time to put the cherry on top wreath on the door. 


And it worked! Now the whole neighborhood knows we're ready for St. Patty's Day! I also got a wonderful surprise from the hubby when I came back from our awesome weekend in Orlando; outside lighting! He was able to wire up half of our landscaping yesterday. Hopefully the rest will be done within the week. Here's how it looks at night! I love the lighted pathway and palms :)


That's all for now folks! In the meantime, I'll be outside staring at my beautiful house :)

-C Doc

Friday, March 8, 2013

Wedding March

March = Wedding madness! Two special people I know will be doing the wedding march within a week or two and I couldn't be more happy for them. Knowing how happy and excited I was on our special day makes me all squishy inside just thinking about the feelings they're having :)

Oh happy day :)
Last Friday night we celebrated Mindy's bachelorette party and this weekend we're going on Lyndsey's bachelorette trip (so excited!). Two weeks ago I had the honor of participating in throwing her a beautiful bridal shower! I love busting out my creative side and I was so excited I got to have a part in such a special event. Here are some pictures from that wonderful day:


I love this :)
This weekend, the girls in the picture above (plus one more), will be causing trouble in Orlando; nine girls and one GoPro in O-town should make for a pretty memorable time! Then next weekend we'll be celebrating the love that Mindy and Joe share, and finally the weekend after that we'll be witnessing Lyndsey and Derek exchange their vows at the beautiful Vinoy.

Can ya feel the love people?!? It's definitely in the air and I'm so honored and excited to share these special moments with these special couples. Marriage is one of the best unions to be a part of and I can't wait to see them devote their love and affection towards one another.

But enough with all the mushy gushy stuff, let's get on the road and go to Orlando! We have some shenanigans to start!

Woohoo!

Have a fantastic weekend!

-C Doc

Tuesday, March 5, 2013

St. Patty Cakes

The day of green is fast approaching! Who doesn't love to drink green beer and feast on corned beef and cabbage? Minus the beer, I'm down for any St. Patty's Day shenanigans I can get involved in, which usually consists of me being DD. You know me, livin' on the wild side...

(Tangent Time) My mother-in-law is wreath crazy. She has one for every season, holiday, whatever... We'll go to the craft store and she'll become fixated on one that she has. to. have. And most of the time, she ends up buying it. So, in an effort to save her money (and for me to do another craft), we went to the craft store (dangerous) to look for supplies to make our own. 

(This is where it all comes together) We went to the craft store and bought these twiggy wreaths. These are good to work with because you're able to shove flowers and different sorts of decoration into them and they hold that position without having to be glued down. #winning


After we picked two of these out, we picked out some flowers to add some character to our wreaths. The mother-in-law wanted to go with a spring theme, I wanted to go with a St. Patty's Day theme (told you it would make sense!).

So, after snooping around Michael's fake flower department (everything was 40% off!), we ended up with some cute stuff. I didn't take any pictures while making them, but we pretty much cut down some of the stem with wire cutters and shoved the stems into the tangled twigs. Fake flowers are cool because you can mold them and bend them the way you want. Here's how mine turned out (I totally failed and didn't get a picture of hers, oops!):


On the top left hand section, I wrapped a bow tie around it and tied a knot, as well as a glass "D". Nothing screams Irish like the name Dockerty! 


In the bottom right section I stuck a few bunches of flowers and some single glittery roses in there. I also shoved some green glittery leaves and some green streamer things for some flair. 

My favorite part about these wreaths is the fact that when a new season or holiday pops up, we can pull out these flowers and store them for the next holiday and replace them with the upcoming event. My next wreath with be themed around Easter, after that I'll probably do a spring wreath and then in May I might even get a little crazy and make a birthday wreath! That way, when the mailman walks up to the door, he'll know there's a birthday in the house (or at least what holiday is coming up). Either way, I'm happy with how it turned out. It's much easier to store fake flowers for every season than to store a big wreath, am I right? Now, I just need to get one of those sticky hooks to hang 'er up on the front door for all to see! Bring it on Saint Patrick! 

-C Doc

Monday, March 4, 2013

Snug like a bug in a rug

Happy Monday! Did y'all have a good weekend? Besides being bummed that I didn't get to see it snow in St. Pete, I had a great one. While Sean was off pretending to be good at golfing, I went shopping :)

The progress of our bedroom has been at a stand still since we're both busy with work and weddings and such. As well as the fact that I'm still deciding on what to do next... I saw this pillow last weekend when I was browsing around Marshall's but decided to hold off on it. But, I loved it so much I decided to go back for it. Now, I ask you to do a big favor for me... please excuse the wrinkled sheets and pillow cases, I left them in the dryer too long. Oops! 


Anyhoo, that's the pillow! I love how it pulls the grey from the sheets into it as well as incorporating some new colors in. Since I'm a big fan of the color green, I've decided that green shall be an accent color. The tan also ties in the dog bed that I recently bought for my favorite boys.


While I was out on my little shopping spree, I came across a cool rug that incorporates even more color! The best part? It was e-l-e-v-e-n dollars!!! Say whaaa?!? That's crazy cheap for a 4x6 rug. I though about getting the 5x7 for five bucks more, but I thought that the 4x6 was a good size for the little area. Plus, how could you pass up a rug for $11? 


As a whole, it's neutral enough to still fit in with the room, but it's got little pops of color that add some fun. 


So, besides buying a few shirts for me and some shorts for my boy-toy, these are some of the things that I bought that will go towards completing our room. Next on the list, getting the bed painted, finally painting the nightstands (slacker status), curtains and getting some art on those bare walls! Ciao for now!

-C Doc